

I’ve cooked a dozen or more Thanksgiving dinners in my life, and there’s one piece of advice I share whenever I’m asked how to pull off the feast without feeling completely overwhelmed: If you can do it ahead, do it ahead.
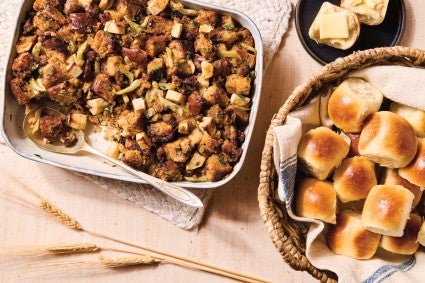
That’s why, in the weeks leading up to the holiday, you’ll find my freezer full of pie dough and bags of torn bread that’s stuffing-bound. It’s why I generously salt my turkey and refrigerate it up to four days in advance (a technique called dry brining), why my cranberry sauce is made early in the week, why my potatoes are peeled and soaking in cold water the night before, and why I stockpile a case of wine in my closet a month in advance.

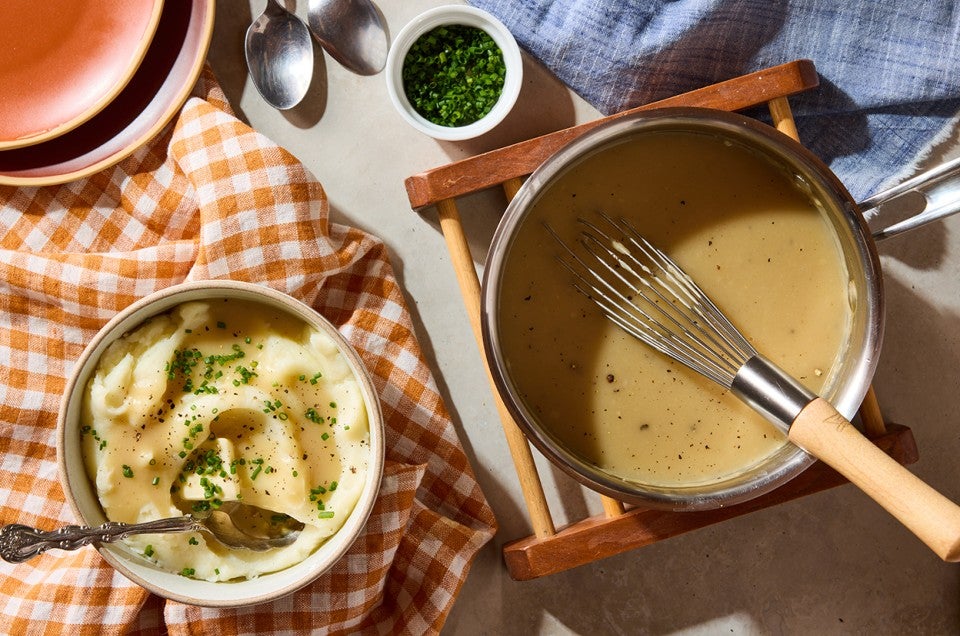
But there’s one task I do even farther in advance — like, right now — and that’s make the gravy. Integral to the meal and yet very annoying to make at the last minute, gravy is best made ahead. And, what’s more, make-ahead gravy tastes just as good as last-minute gravy!
If you want to follow my lead, here’s the move: I like to make my gravy with homemade turkey stock. At the grocery store, I look for turkey drumsticks or thighs; if the store doesn’t have them (and often at this time of year, it’s the whole bird or bust) I’ll use chicken parts instead. You can, of course, use store-bought chicken or turkey stock; ideally, I try and get flavorful “homemade” stock from a specialty store rather than canned or boxed stock, since the flavor of your finished gravy is highly dependent on the richness and flavor of the stock.

Once I’ve made my stock, the rest is easy. I wrote a simple recipe that you can reference, but, in short: if you can whisk, you can make gravy. Once finished, I transfer the gravy to a quart container, let it cool to room temperature, and then cover and refrigerate (if I’m using it within the week) or freeze for up to three months. If I’ve frozen my gravy, I pull it from the freezer a night or two before I want it and let it thaw in the fridge. Transfer the thawed gravy to a saucepan and rewarm gently over medium heat until piping hot. If the reheated gravy seems too thick, you can add a splash of water. Before serving, I often whisk in some of the drippings that have collected in the bottom of my roasting pan, as well as some finely chopped fresh herbs, then give it a final taste and adjust for seasoning. It’s stress-free gravy! My only other piece of Thanksgiving advice? You’re probably going to want a double batch.
You've got this! Check out our Thanksgiving timeline for a guide to the holiday feast.
Cover photo (Make-Ahead Gravy) by Rick Holbrook, food styling by Kaitlin Wayne


