You visit a fancy metropolitan bakery. You pay fairly big bucks for a loaf of "artisan bread."
You think to yourself, "Hmmm, I should be able to make this at home... how hard could it be?"
The answer is – as hard as you make it, given the degree of authenticity you want the loaf to have.
You can build your own starter, and feed it twice daily. Make dough figuring baker's percentages and proper hydration, then mix and knead it to yield the perfect temperature for yeast growth. You can lovingly shape the loaf using traditional techniques, and bake it in an oven you've carefully filled with steam.
And if everything goes right, and you're a pretty good baker, you'll have an excellent loaf.
Me, I'm simply not that patient. I can certainly follow the artisan bread process; I've done it, it's interesting, it works.
But most days, I'll trade taste for classic preparation methods, thanks anyway. If you feel the same - read on.
No-knead bread is the easiest way for novices to get into bread baking. And the simplest way for any of us to enjoy yeast bread without investing a whole lot of prep time.
As its name implies, one of yeast bread's basic challenges – knowing how to knead – is removed. Whether you're making a soft cheddar soda bread, crackly-crusted white bread, or any number of other tasty no-knead loaves, you'll expend a minimum of effort for a maximum bread experience.
How does this work? Don't you HAVE to knead yeast bread?
As it turns out – no. Just the simple passage of time, paired with a stickier than normal dough, will develop enough gluten to produce bread with body, crackly-crisp crust, and great texture. To say nothing of wonderful flavor.
Five years ago next month, The New York Times' Mark Bittman introduced the world at large to no-knead breads, riffing on the method Jim Lahey was using at his (NYC) Sullivan Street Bakery.
Authors Jeff Hertzberg and Zoe Francois took things a few steps further with their seminal Artisan Bread in Five Minutes a Day.
And many of us have embraced "no need to knead" for lots of our loaves ever since.
Are you a wannabe bread baker? Or simply someone - anyone - who wants delicious bread with a minimum of effort?
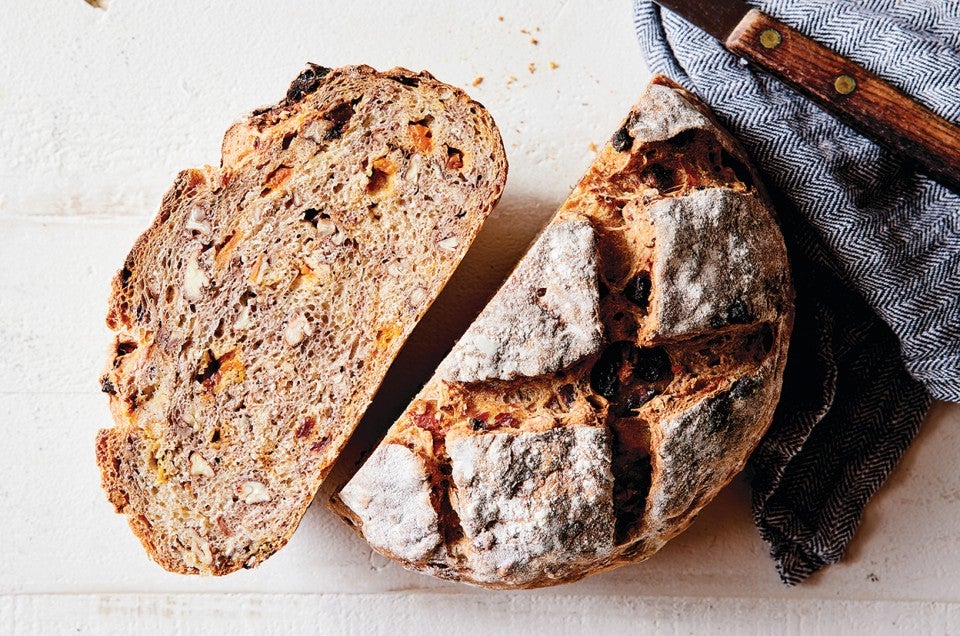
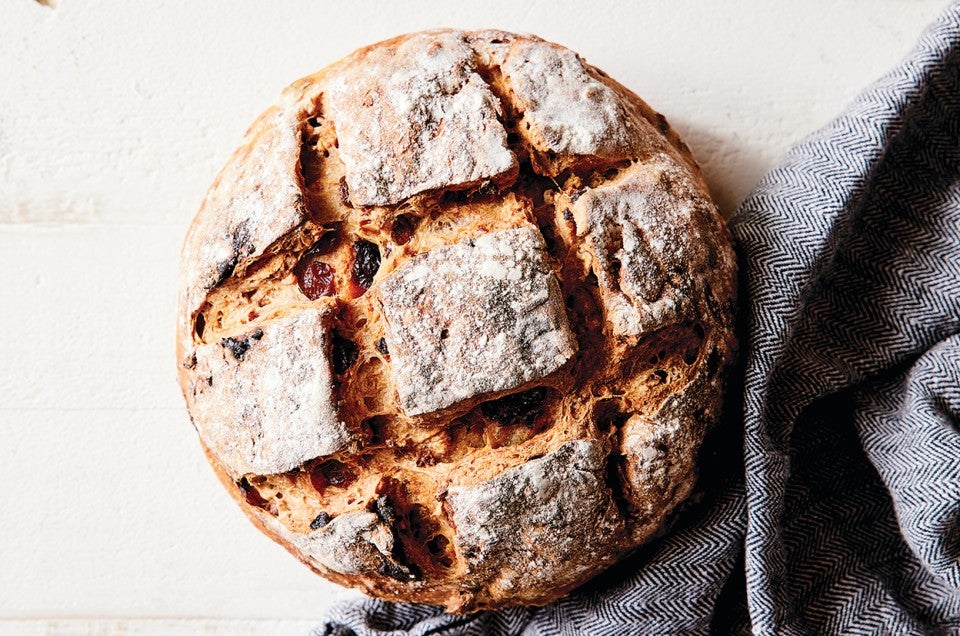
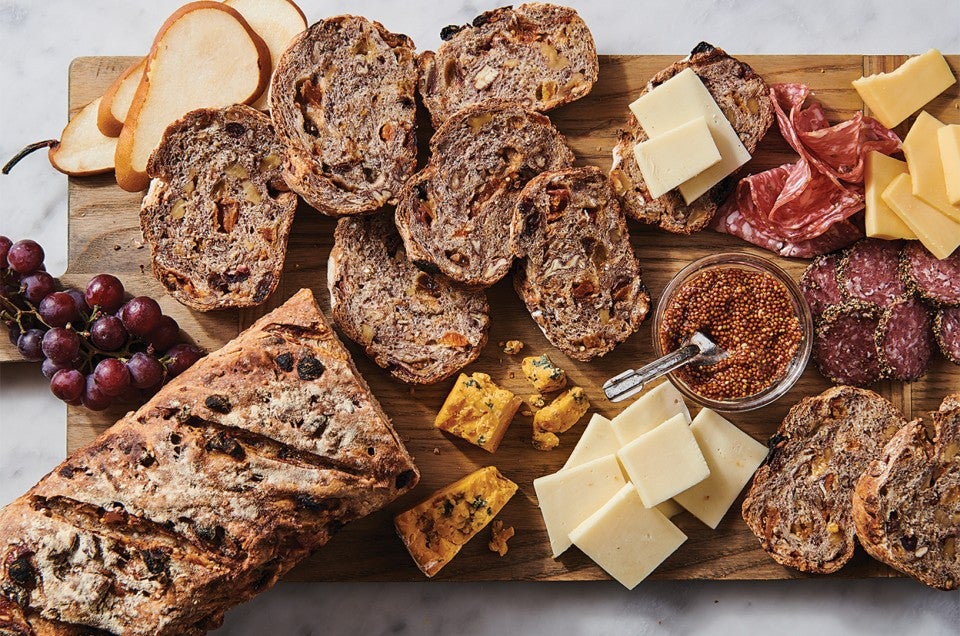
Then this dense, chewy, fruit-and-nut-packed No-Knead Harvest Bread is for you.
Place the following in a mixing bowl:
3 1/4 cups (13 3/4 ounces) Lancelot Hi-Gluten Flour or King Arthur Unbleached All-Purpose Flour
1 cup (4 ounces) King Arthur Premium Whole Wheat Flour or King Arthur Golden Wheat Flour
2 teaspoons salt
1/2 teaspoon instant yeast
1 3/4 cups cool water
Mix until well combined. No knead to need, simply mix until there's no dry flour showing; then add the following:
3/4 cup dried cranberries
1/2 cup golden raisins
1 cup coarsely chopped pecans or walnuts
Cover the bowl with plastic wrap, and let the dough rest at room temperature overnight, or for at least 8 hours.
It'll become bubbly and rise quite a bit.
When you pull some dough away from the side of the bowl, you'll see the gluten that's formed – even without kneading.
What's up with that? Don't you have to knead yeast dough to "develop" it, to create and strengthen its gluten?
Actually, you don't. Yeast dough will develop its own gluten as it ferments (rises), so long as you give it sufficient time – which is the secret behind no-knead breads. No kneading, but lots of slow rising – sometimes for days, in the fridge.
Turn the sticky dough out onto a well-floured work surface.
A silicone rolling mat is helpful here; not only is the dough easier to work with, it's simple to pick up the mat afterwards, dump off any excess flour, and simply rinse it clean.
Try picking up and dusting off your wooden table or granite countertop!
Gently form the dough into a log or round loaf to fit your 14" to 15" long lidded stoneware baker; a 9" to 10" round lidded baking crock, or 9" x 12" oval deep casserole dish with cover.
Lightly grease the pan you've chosen. Place the dough in the prepared pan. Cover and let rise at room temperature for about 1 to 2 hours, until it's become puffy.
It should rise noticeably, but it's usually not a real high-riser.
Place the lid on the pan, and put the bread in the cold oven. Set the oven temperature to 450°F.
Bake the bread for 45 to 50 minutes, then remove the lid and continue to bake for another 5 to 15 minutes, until it's deep brown in color, and an instant-read thermometer inserted into the center registers about 205°F.
Remove the bread from the oven, and turn it out onto a rack.
Cool completely before slicing. Store leftovers, well-wrapped for several days at room temperature; freeze for longer storage.
Notice the slight purple cast to the bread? That's from the walnuts; there's something about walnuts' acidity that reacts with any alkalinity in the bread and changes its color. If I'd used pecans, it'd be creamier-looking. It's a little off-putting, appearance-wise. But don't worry; the bread doesn't taste "purple" – its flavor is strictly golden!
Read, bake, and review (please) our recipe for No-Knead Harvest Bread.
October 18, 2021 at 8:22pm
In reply to The blog, here, and the… by Liz Kinney (not verified)
Hi Liz. The difference between the blog and the printed recipe in the catalog is different methods of incorporating steam into your baking. Both will produce a wonderfully crispy crust. We have more information about this in our blog article Steam in bread baking. Happy Baking!
February 14, 2021 at 6:54am
I've been making this bread weekly for the past few months and love it! 2 questions:
In many of your fruited bread recipes you call for adding the fruits and nuts not in the initial mix as you do here, but instead, after the first rise is complete. Can you explain the difference?
Would the tangzhong method result in a loaf that stays fresh longer, or is that method not suitable for no-knead breads?
Thanks!
February 23, 2021 at 10:18am
In reply to I've been making this bread… by Corni Forster (not verified)
Hi Corni, as far as when to add fruits and nuts, there are many paths that lead to the same destination! It is up to the recipe designer as to when to add them depending on the particulars of that recipe. If the add-ins would compete for liquids, for example, they may be held back until the yeast has time to do its job and the formation of gluten has had an opportunity to get a head start. I don't see any reason why you couldn't try the tangzhong method with this recipe. Take a look at our blog, How To Convert A Bread Recipe to Tangzhong for detailed instructions.
January 23, 2021 at 12:16pm
I baked this for the first time in my LeCruset enamel pot and followed exact directions. When I turned it out of the pot, the bottom crust was burnt. I used an instant read thermometer and took it out at 203. I sprayed the pot with Pam for Baking, could that have anything to do with it? My oven shelf is in the middle of the oven, does it need to be higher? Otherwise looks and smells great. Can’t wait until it cools off so I can try a slice.
January 23, 2021 at 2:40pm
In reply to I baked this for the first… by Donna (not verified)
Thanks so much for baking our recipe, Donna! We're sorry to hear that the bottom of your loaf got a bit overbaked though. To prevent this from happening you can try placing a round of parchment paper in the bottom of the Dutch oven or you can place the pot on a baking sheet to help insulate it. We hope this helps for future baking adventures!
July 25, 2020 at 10:10pm
My entire family has asked for this recipe! It couldn’t be easier. We have it on hand all the time! Great recipe... thanks. I finish it off with an egg wash, sesame seeds and Demerara sugar!
March 28, 2020 at 8:48pm
Can I use 4.5qt dutch oven? That’s all Ih e.
April 30, 2020 at 4:34pm
In reply to Can I use 4.5qt dutch oven?… by Alicia (not verified)
Yes that's the size this recipe calls for. Happy baking!
March 27, 2020 at 7:28pm
Bobbie, I will be using 2 loaf pans. Do I cover the bread with foil for 40 minutes?
March 8, 2020 at 11:03am
Can I use some oat flour along with the other in this recipe. I've done that before and it's delicious. Will let you know either way 😆
Pagination