A Smaller Sourdough Starter

Recipe by Barb Alpern

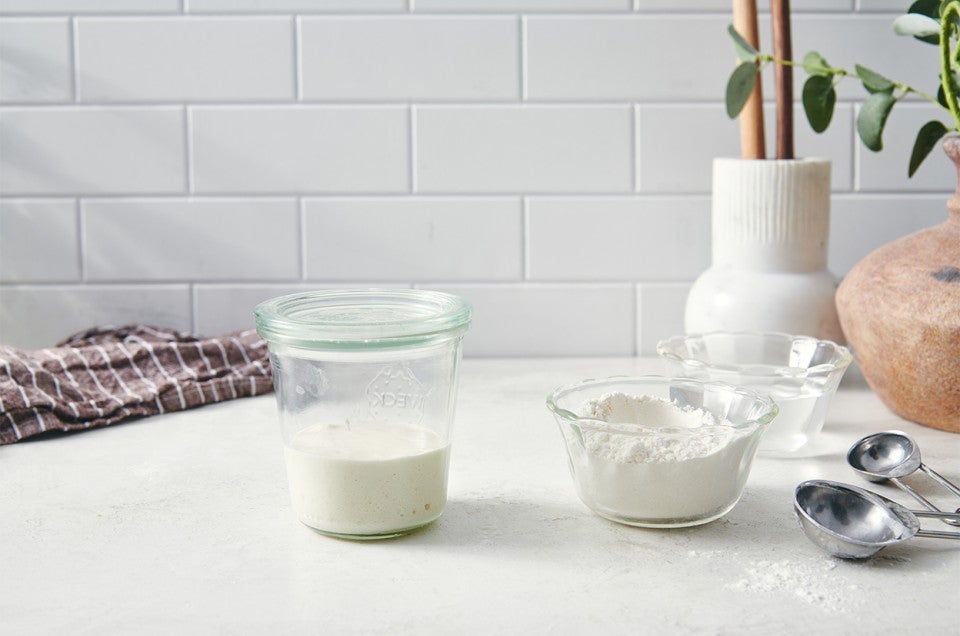
Over the years our Baker’s Hotline has received many, many inquiries about the possibility of maintaining a smaller sourdough starter as a way of reducing the amount of discard generated. Now, if you’re happy with your regular maintenance routine and you're finding ways to put your starter discard to good use, don't change what you’re doing. But if you feel guilty about throwing out a lot of unused discard this feeding method — which uses a lot less flour — might be just what you’re looking for!

Read this recipe then head over to our blog post, Maintaining a smaller sourdough starter, for additional details, photos, and handy tips.
Prep
10 mins
Total
10 mins
Yield
about 2 ounces
A Smaller Sourdough Starter - select to zoom

Instructions

Prevent your screen from going dark as you follow along.
  1. This recipe begins with your own existing starter. If you're not currently tending one, here's a recipe for sourdough starter.

  2. Stir your ripe (fed) starter and discard all but 20g (1 rounded tablespoon). Note: Having two identical 8-ounce wide-mouth jars will come in handy here; you can tare the weight of the empty jar, then remove all but 20g of starter from the starter jar. Or, if you're measuring by volume, you can remove 1 tablespoon starter from the original jar and add it to the second jar.

  3. To store your starter at room temperature (about 70°F): Add the water and flour, stir, and cover. Feed the starter every 12 hours, or once in the morning and once in the evening.

  4. To store your starter in the refrigerator: Add the water and flour, stir, and cover. Feed your starter at least once a week when storing it in the refrigerator. Allow the starter to ferment at room temperature (about 70°F) for four hours before returning it to the refrigerator; this gives the yeast and bacteria a chance to warm up and become active.

  5. To ready your starter for baking: Preparing to bake involves a series of feedings/builds that serves to increase both the quantity and the activity level of your starter. Feed/build your starter until you have enough for your recipe plus 20g left over to feed and maintain. See "tips," below, for an example of how to build your starter for a recipe calling for 1 cup (8 ounces, 227g) ripe sourdough starter.

Tips from our Bakers

  • To make 1 cup (227g) sourdough starter to use in a recipe, aim for at least 247g (we'll round it up to 250g) in order to have 20g left over to feed and maintain.
    •Feeding #1: 20g starter + 20g water + 20g flour.
    •Feeding/build #2: Discard 30g starter (half by volume). Feed the remaining 30g starter with 30g (2 tablespoons) water and 30g (3 tablespoons) flour.
    •Final feeding/build: No discard. Add to the full amount of starter: 90g (7 tablespoons)* water + 90g (3/4 cup) flour = 270g (generous 1 cup) starter.
    •Use 247g in your recipe; feed/save 20g; discard any remainder.

    *Yes, the amounts are tweaked just a bit, we've found this gives the best results.
  • You may notice the metric/American weights above don't match one another exactly. That's OK; as long as you maintain the starter with equal parts starter, flour, and water by weight, it really doesn’t matter what exact weight you use. And remember, a scale is your best friend when working with a smaller starter.

  • How do you determine how many feedings/builds to include before baking? In general, the more feedings your starter gets at room temperature, the better it will perform in your baking. Adding a few midweek room-temperature feedings can make your starter rebound more quickly after refrigeration, and may reduce the number of revival feedings necessary before baking. Remember, maintaining a smaller sourdough starter is going to result in a lot less discard, so consider feeding your starter more often — it'll thank you!

  • A smaller starter leaves less margin for error. When planning your feeding/build schedule be sure to include a little padding in the numbers to guard against spillage.